Re: New puppet project with step-by-step pictures Posted by cristina1984 on Sep 28, 2012
ArthurS, as I've told you in the blog, they are great!! Is it so much difficult working with lattex? Where have you bought it, if you don't mind to tell me¿¿ 

Re: New puppet project with step-by-step pictures Posted by ArthurS on Sep 28, 2012
I wouldn't say its more difficult. Just WAY more time consuming. I can spray glue the foam puppet and lay down fleece quickly. Even adding in stitching the seams doesn't take that long. But with the latex, 3-4 coats are bare minimum for the base and each layer can take hours to dry depending on thickness and if you use a dryer or not.
Then you have to top coat those with shading layers. And for puppets like the dragon, if there are completely separate pieces with different colors (like the horns) where you have to mask them off, then you have to complete one area, then start anew on the next.
The instructor we had gave me a bottle of old latex he had (well, really two but one was the consistancy of cottage cheese). I bought the 16oz "Mold Builder" from Hobby Lobby. With their 40% off coupon its not horribly expensive but only does one head with a minimum coating. I just ordered some Rub-R-Mold from http://www.yaley.com/ ($50/gallon). I found gallons elsewhere cheaper ($42-45), but this is suppose to be faster drying.
Re: New puppet project with step-by-step pictures Posted by ArthurS on Sep 28, 2012
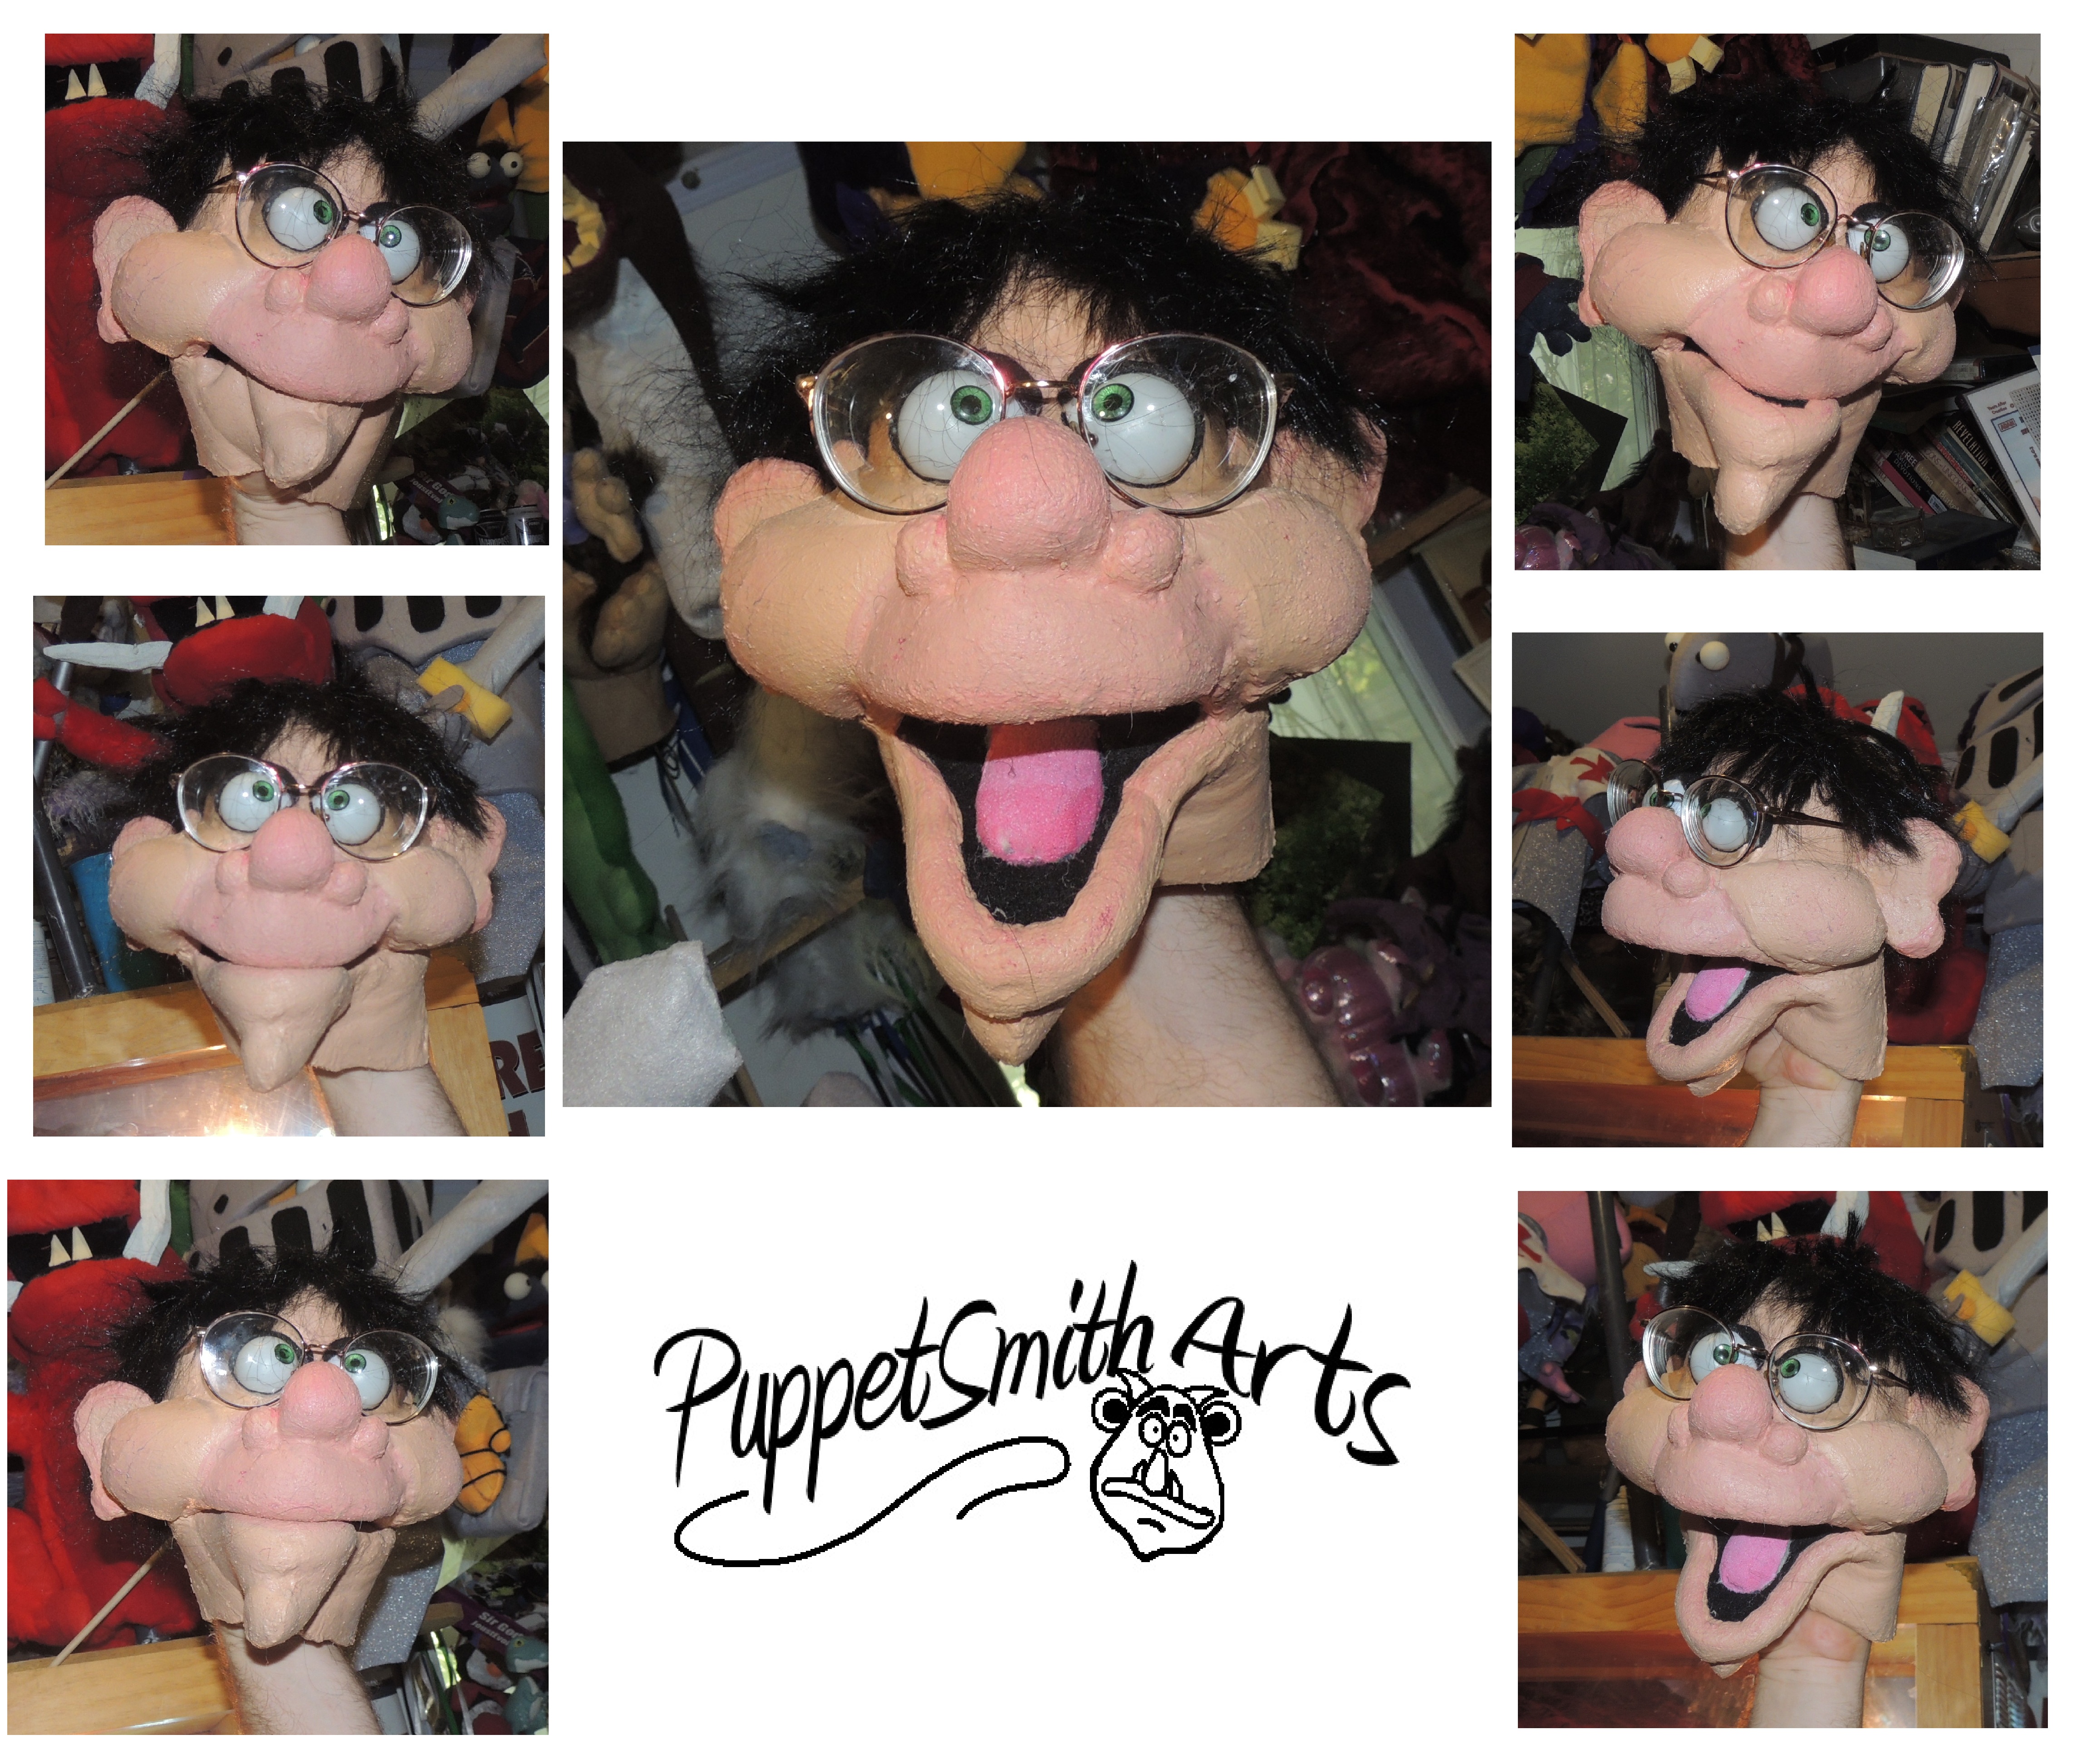
The next segment is ready. This one pretty much finishes up the head.
http://puppetsmitharts.blogspot.com/2012/09/daly-design-part-3-mouth-tongue-hair.html
Makes him look like this:
http://puppetsmitharts.blogspot.com/2012/09/daly-design-part-3-mouth-tongue-hair.html
Makes him look like this:

Re: New puppet project with step-by-step pictures Posted by Shawn on Sep 28, 2012
He looks great Arthur! The only real criticism I might have is close up in the pictures the latex is kind of bumpy and rough. I actually noticed it more on the human then on the dragon. Did you use different latex? Perhaps one was dried out more then the other so it did not smooth on as easily? I've used this method before on things and it is hard to get a really smooth layer though. It is one reason I always liked working with the spary on Tool Dip. Gives a pretty smooth end result. There is always some texture though because of the pores in the foam but hey have you ever looked close at your skin.  Really nice job over all I think. Love his expression and character. Even in still picture he comes alive!
 Really nice job over all I think. Love his expression and character. Even in still picture he comes alive!
Re: New puppet project with step-by-step pictures Posted by ArthurS on Sep 28, 2012
Thanks! Two possible issues with the bumps. First, it was my first try. Second, that batch of latex was really old. The stuff on the dragon is brand new. Working on the dragon more this weekend. 
Re: New puppet project with step-by-step pictures Posted by ArthurS on Oct 01, 2012
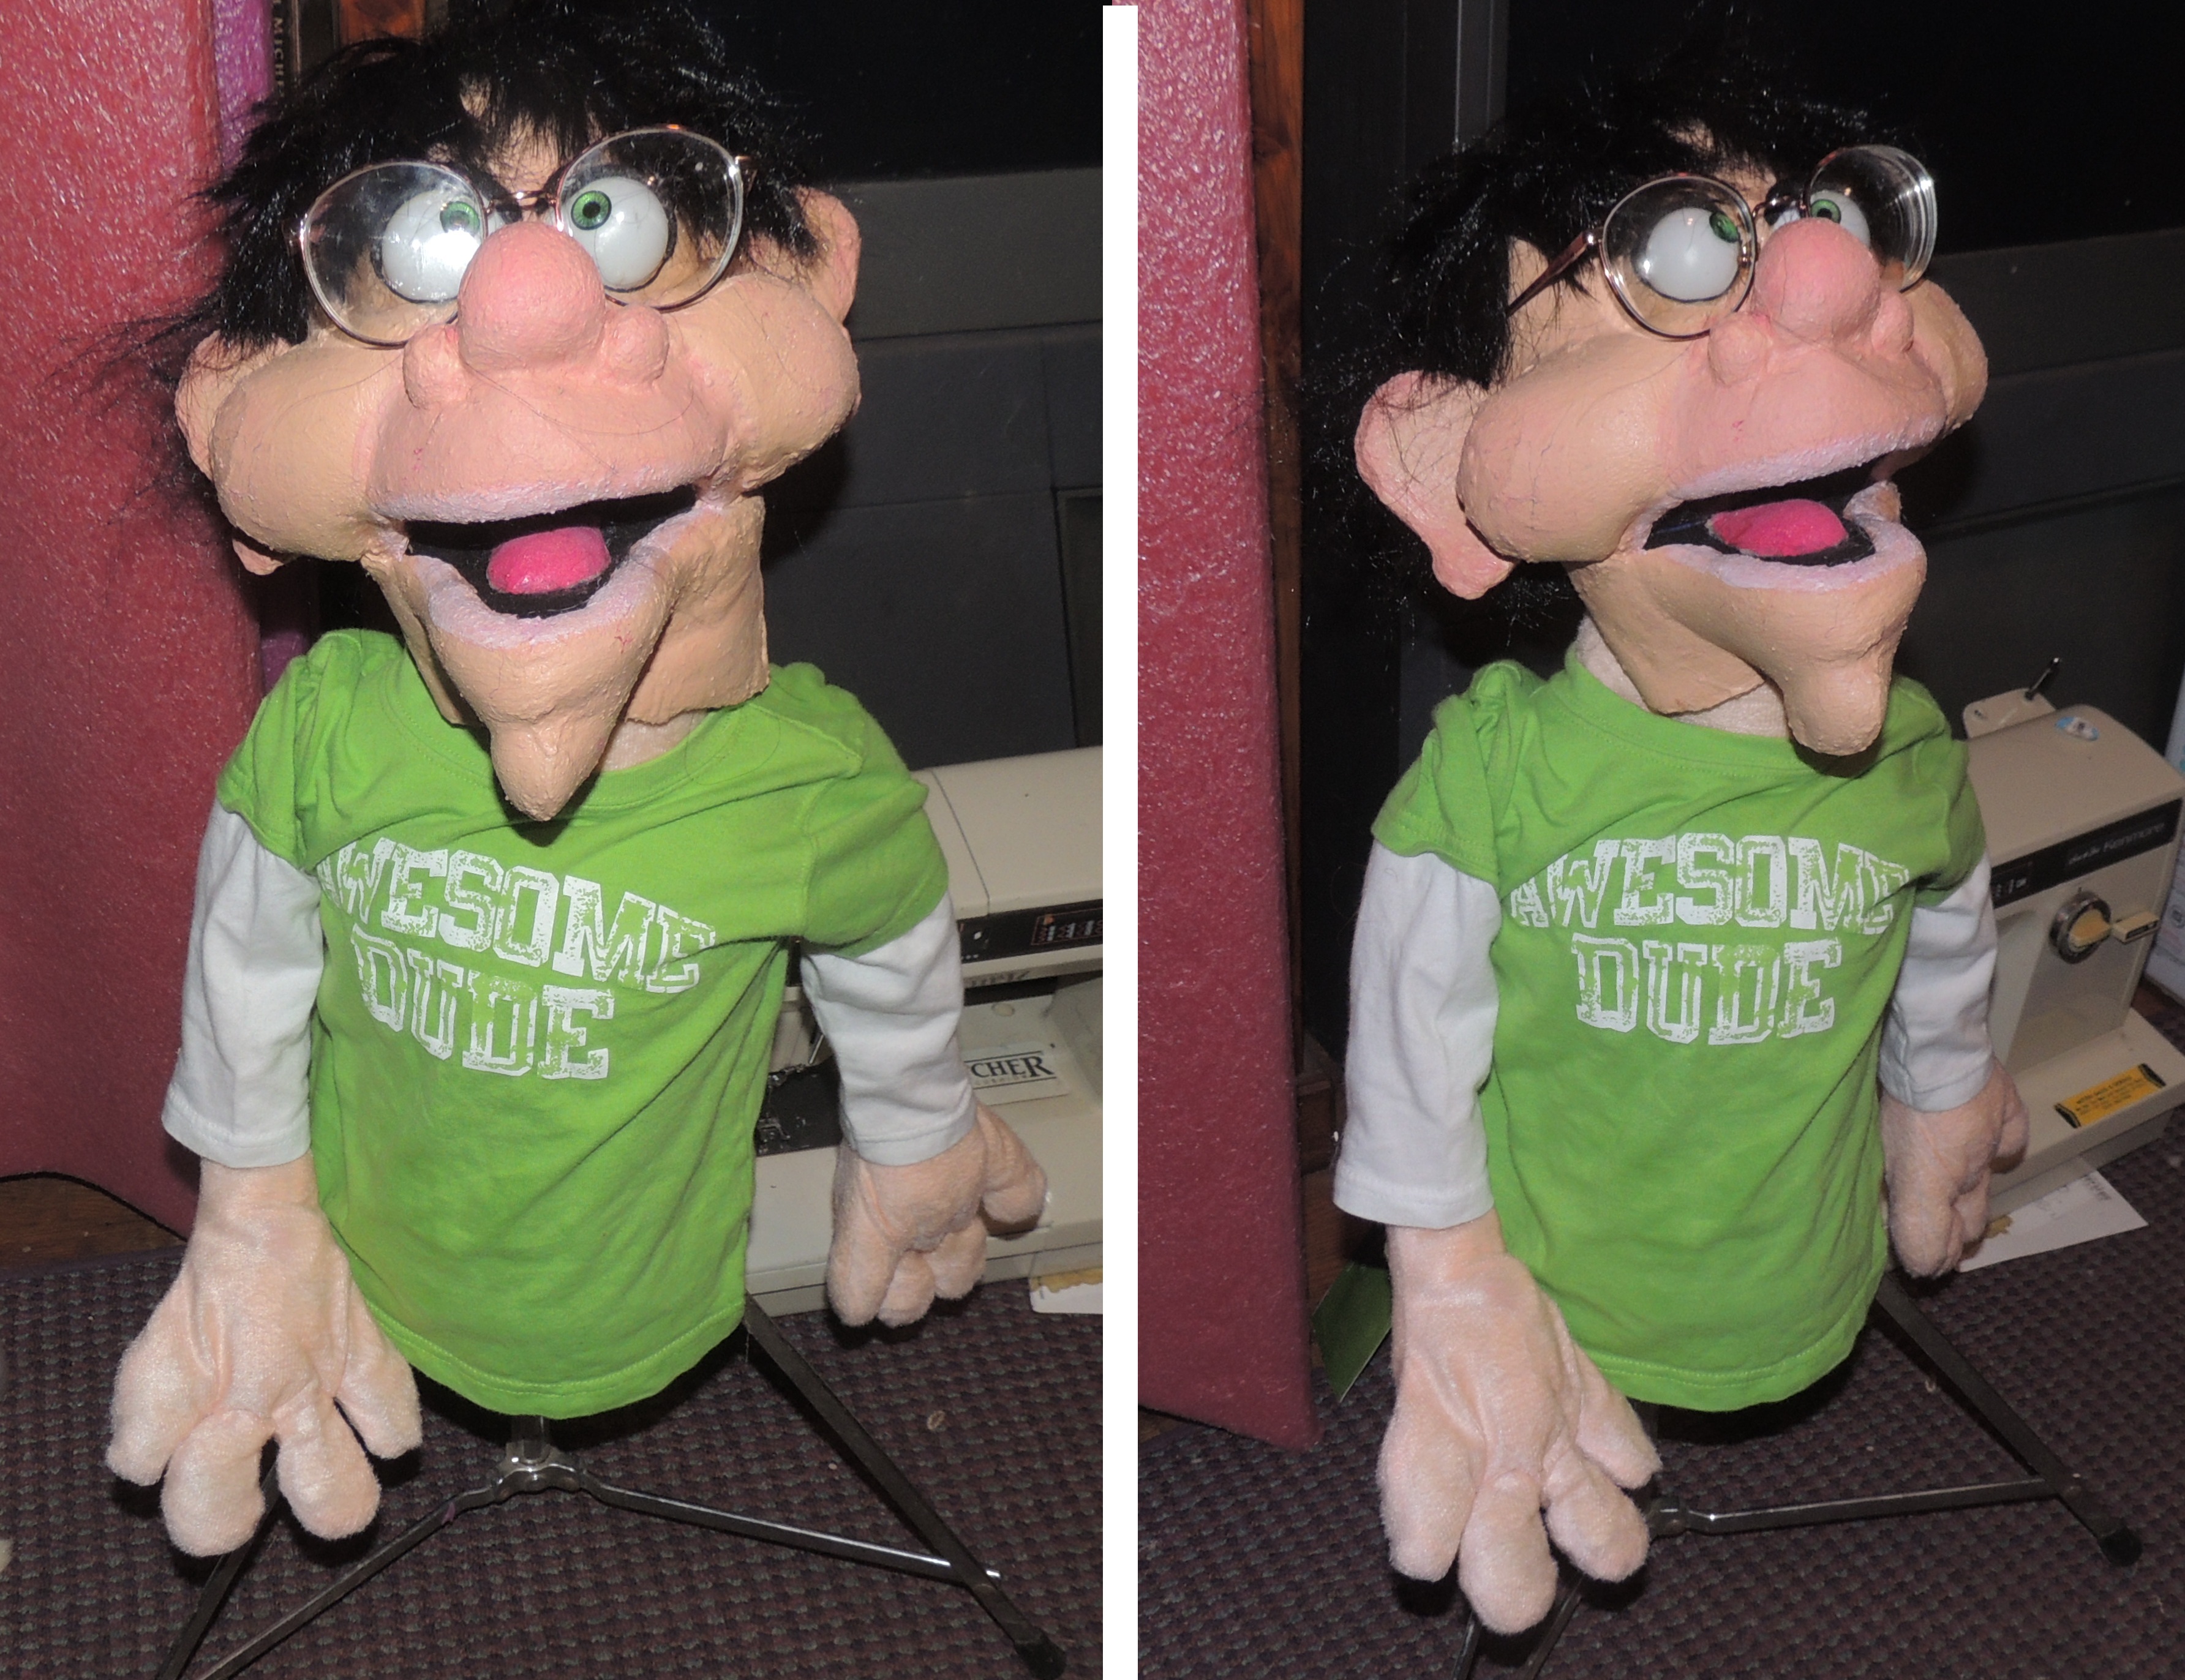
Here he is! I just need to find a better way to transition from head to neck. Though I think he needs a button down-type shirt with a pocket protector as well. I may call him "Norman". Need a good, nerdy name.

Re: New puppet project with step-by-step pictures Posted by Shawn on Oct 01, 2012
Great job!
In the past I've glued my fabric neck to the outside of the foam before I've layered on latex and then when adding the latex painted over the seam. Still get that definition in change of materials though. I think it is more the shape of the bottom of the neck that you would want to change. Looks to me like the back of the neck in latex is split open... is that right? If you rounded off the latex neck from that back split forward cutting off the "corner" that I am seeing in the pictures then it may be less obtrusive. The time I did it I really had very little neck in the latex. the jaw was stopped in latex pretty much at the sides of the mouth and then the back of the head only came down to about the same point. Hope I am explaining that right. I think it is really something that becomes unique to each puppet.
In the past I've glued my fabric neck to the outside of the foam before I've layered on latex and then when adding the latex painted over the seam. Still get that definition in change of materials though. I think it is more the shape of the bottom of the neck that you would want to change. Looks to me like the back of the neck in latex is split open... is that right? If you rounded off the latex neck from that back split forward cutting off the "corner" that I am seeing in the pictures then it may be less obtrusive. The time I did it I really had very little neck in the latex. the jaw was stopped in latex pretty much at the sides of the mouth and then the back of the head only came down to about the same point. Hope I am explaining that right. I think it is really something that becomes unique to each puppet.
Re: New puppet project with step-by-step pictures Posted by ArthurS on Oct 01, 2012
from what I am getting, what you are saying is pretty much what I was thinking I was going to try. I think on the next one, I am going to make the neck part of the head and latex it as well. That way the whole thing can slide into the body easily.
Thanks again!
Oh, BTW, I did add another installment on Arms and Legs on the blog. Easy stuff, but its there. http://puppetsmitharts.blogspot.com/
Thanks again!
Oh, BTW, I did add another installment on Arms and Legs on the blog. Easy stuff, but its there. http://puppetsmitharts.blogspot.com/
Re: New puppet project with step-by-step pictures Posted by Shawn on Oct 01, 2012
Making the neck part of the head and covering in latex also might restrict the movement you can get. Not saying it won't work but that is the reason I've never tried it that way. Then again as I've always said there are not rules and if they are they are meant to be broken. 
Re: New puppet project with step-by-step pictures Posted by ArthurS on Oct 02, 2012
Last of the pictures I think.
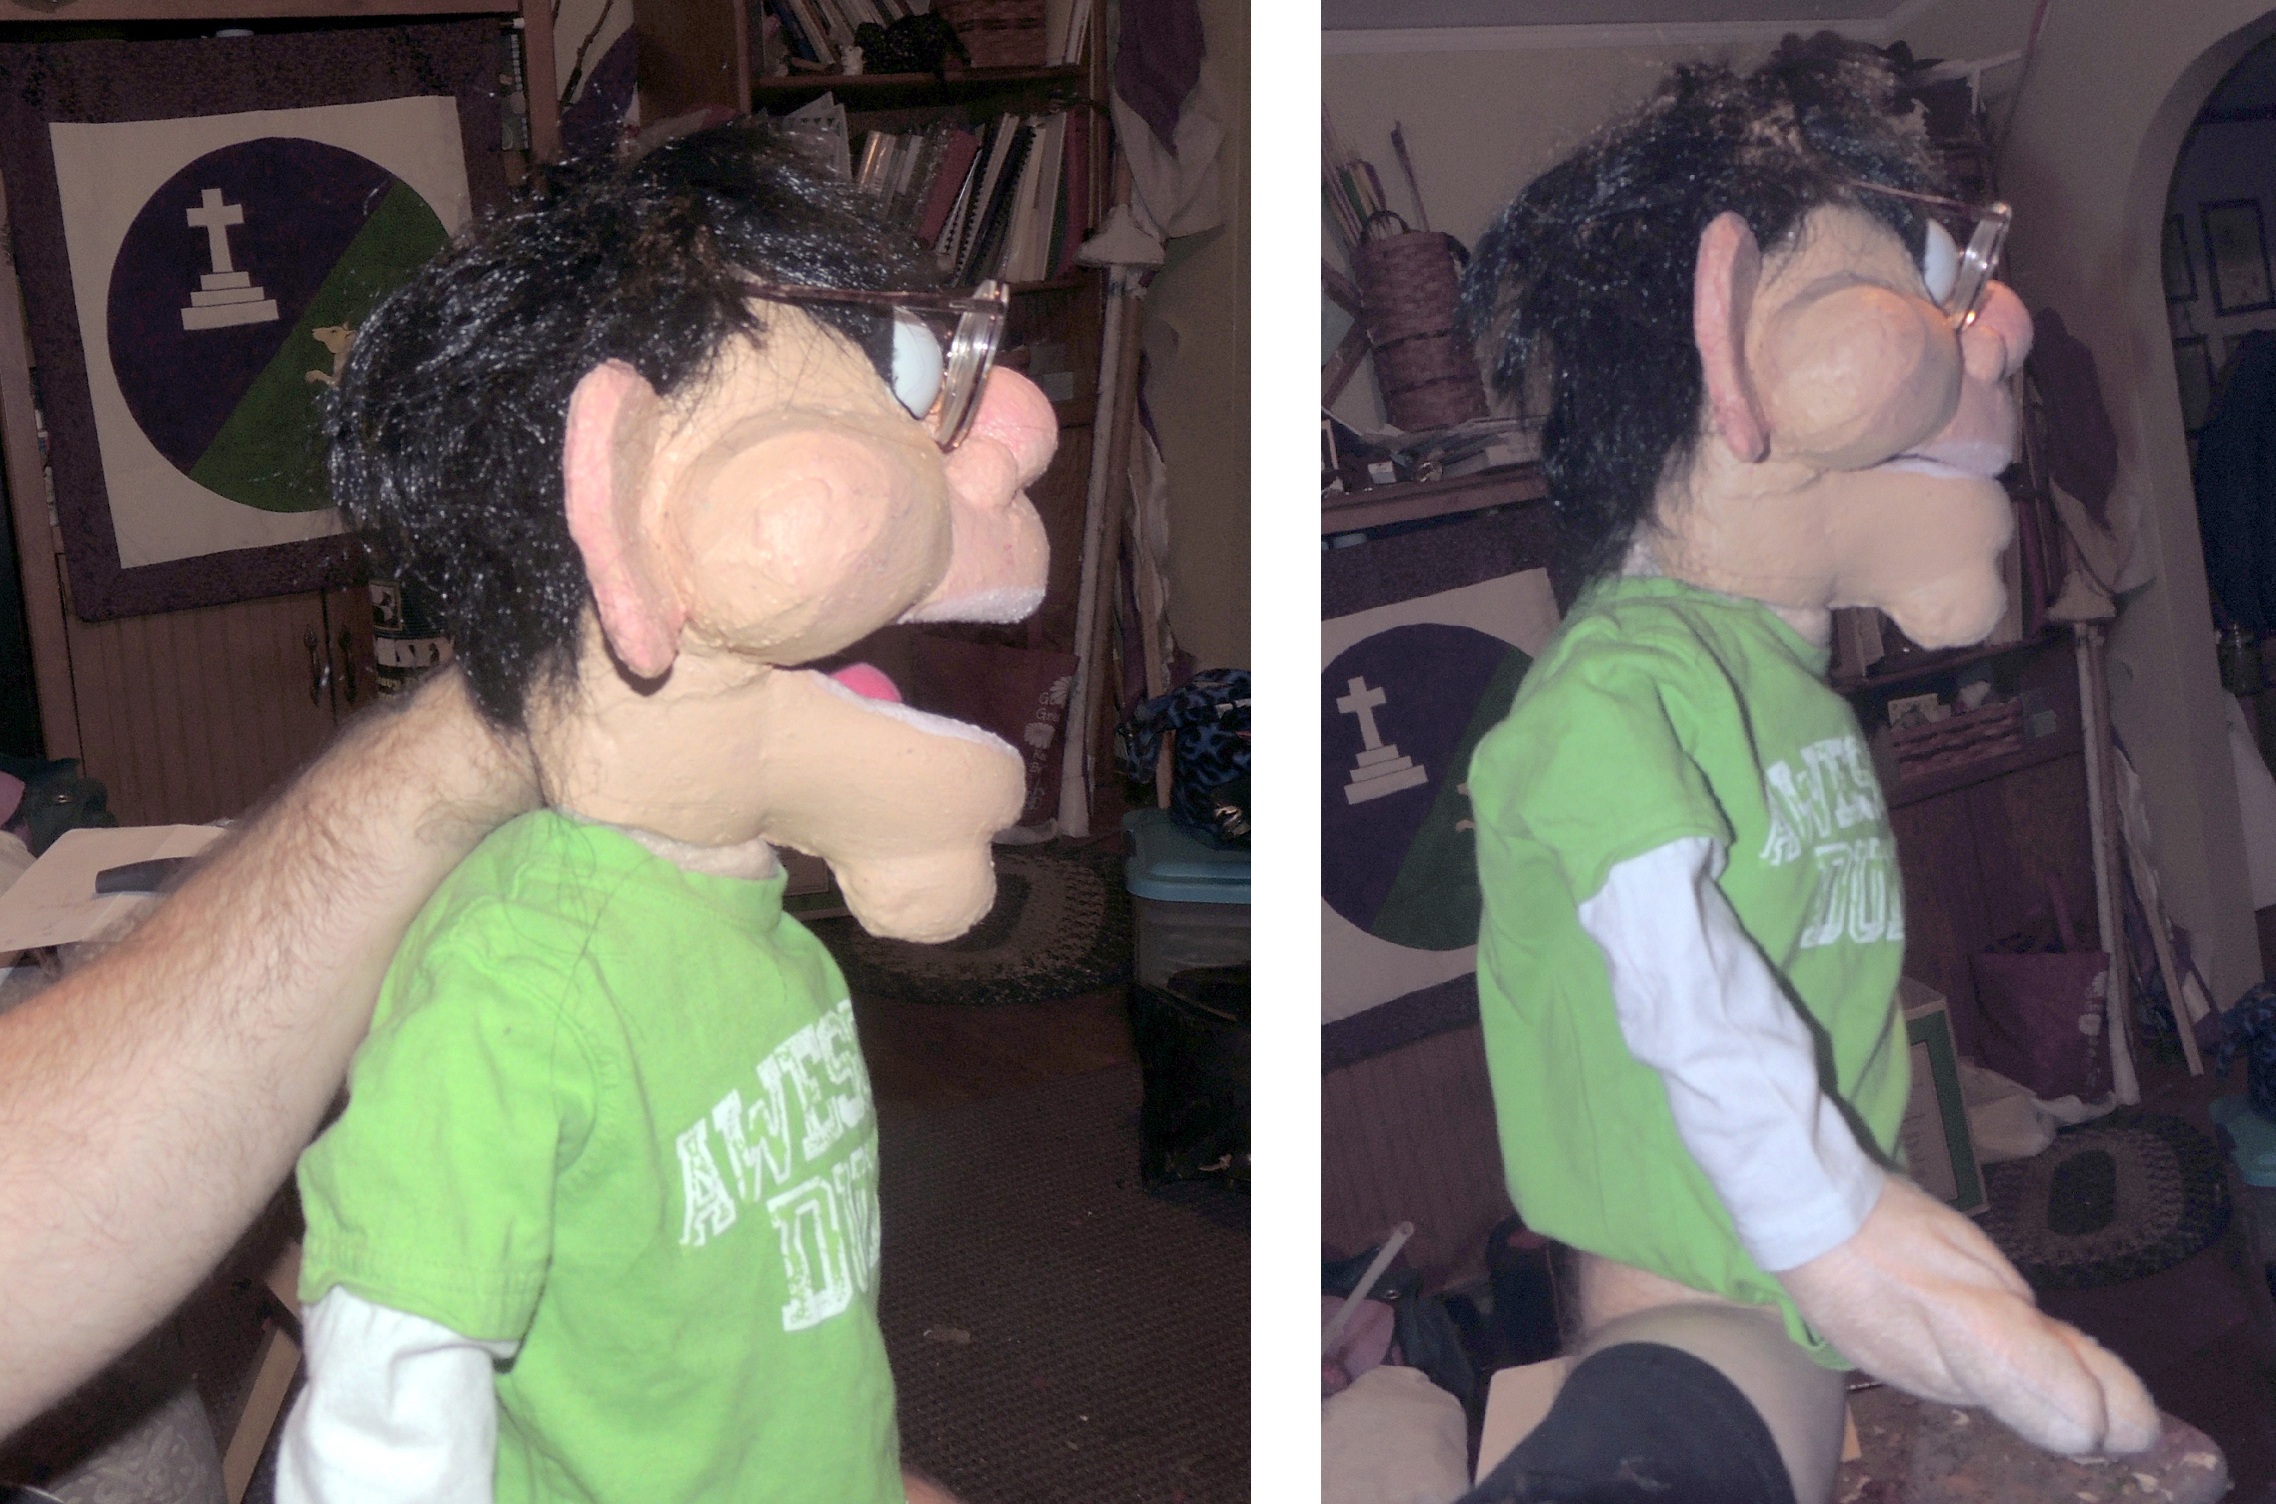
I rounded off the bottom of the head and attached it to the neck. MUCH nicer.
For controls, you have the option of up the body, like normal. But I also put a hole in the back of his neck so if he is sitting on my leg like a ventriloquist dummy, he is easy to operate.
Here is the finished dragon I made with the same method:
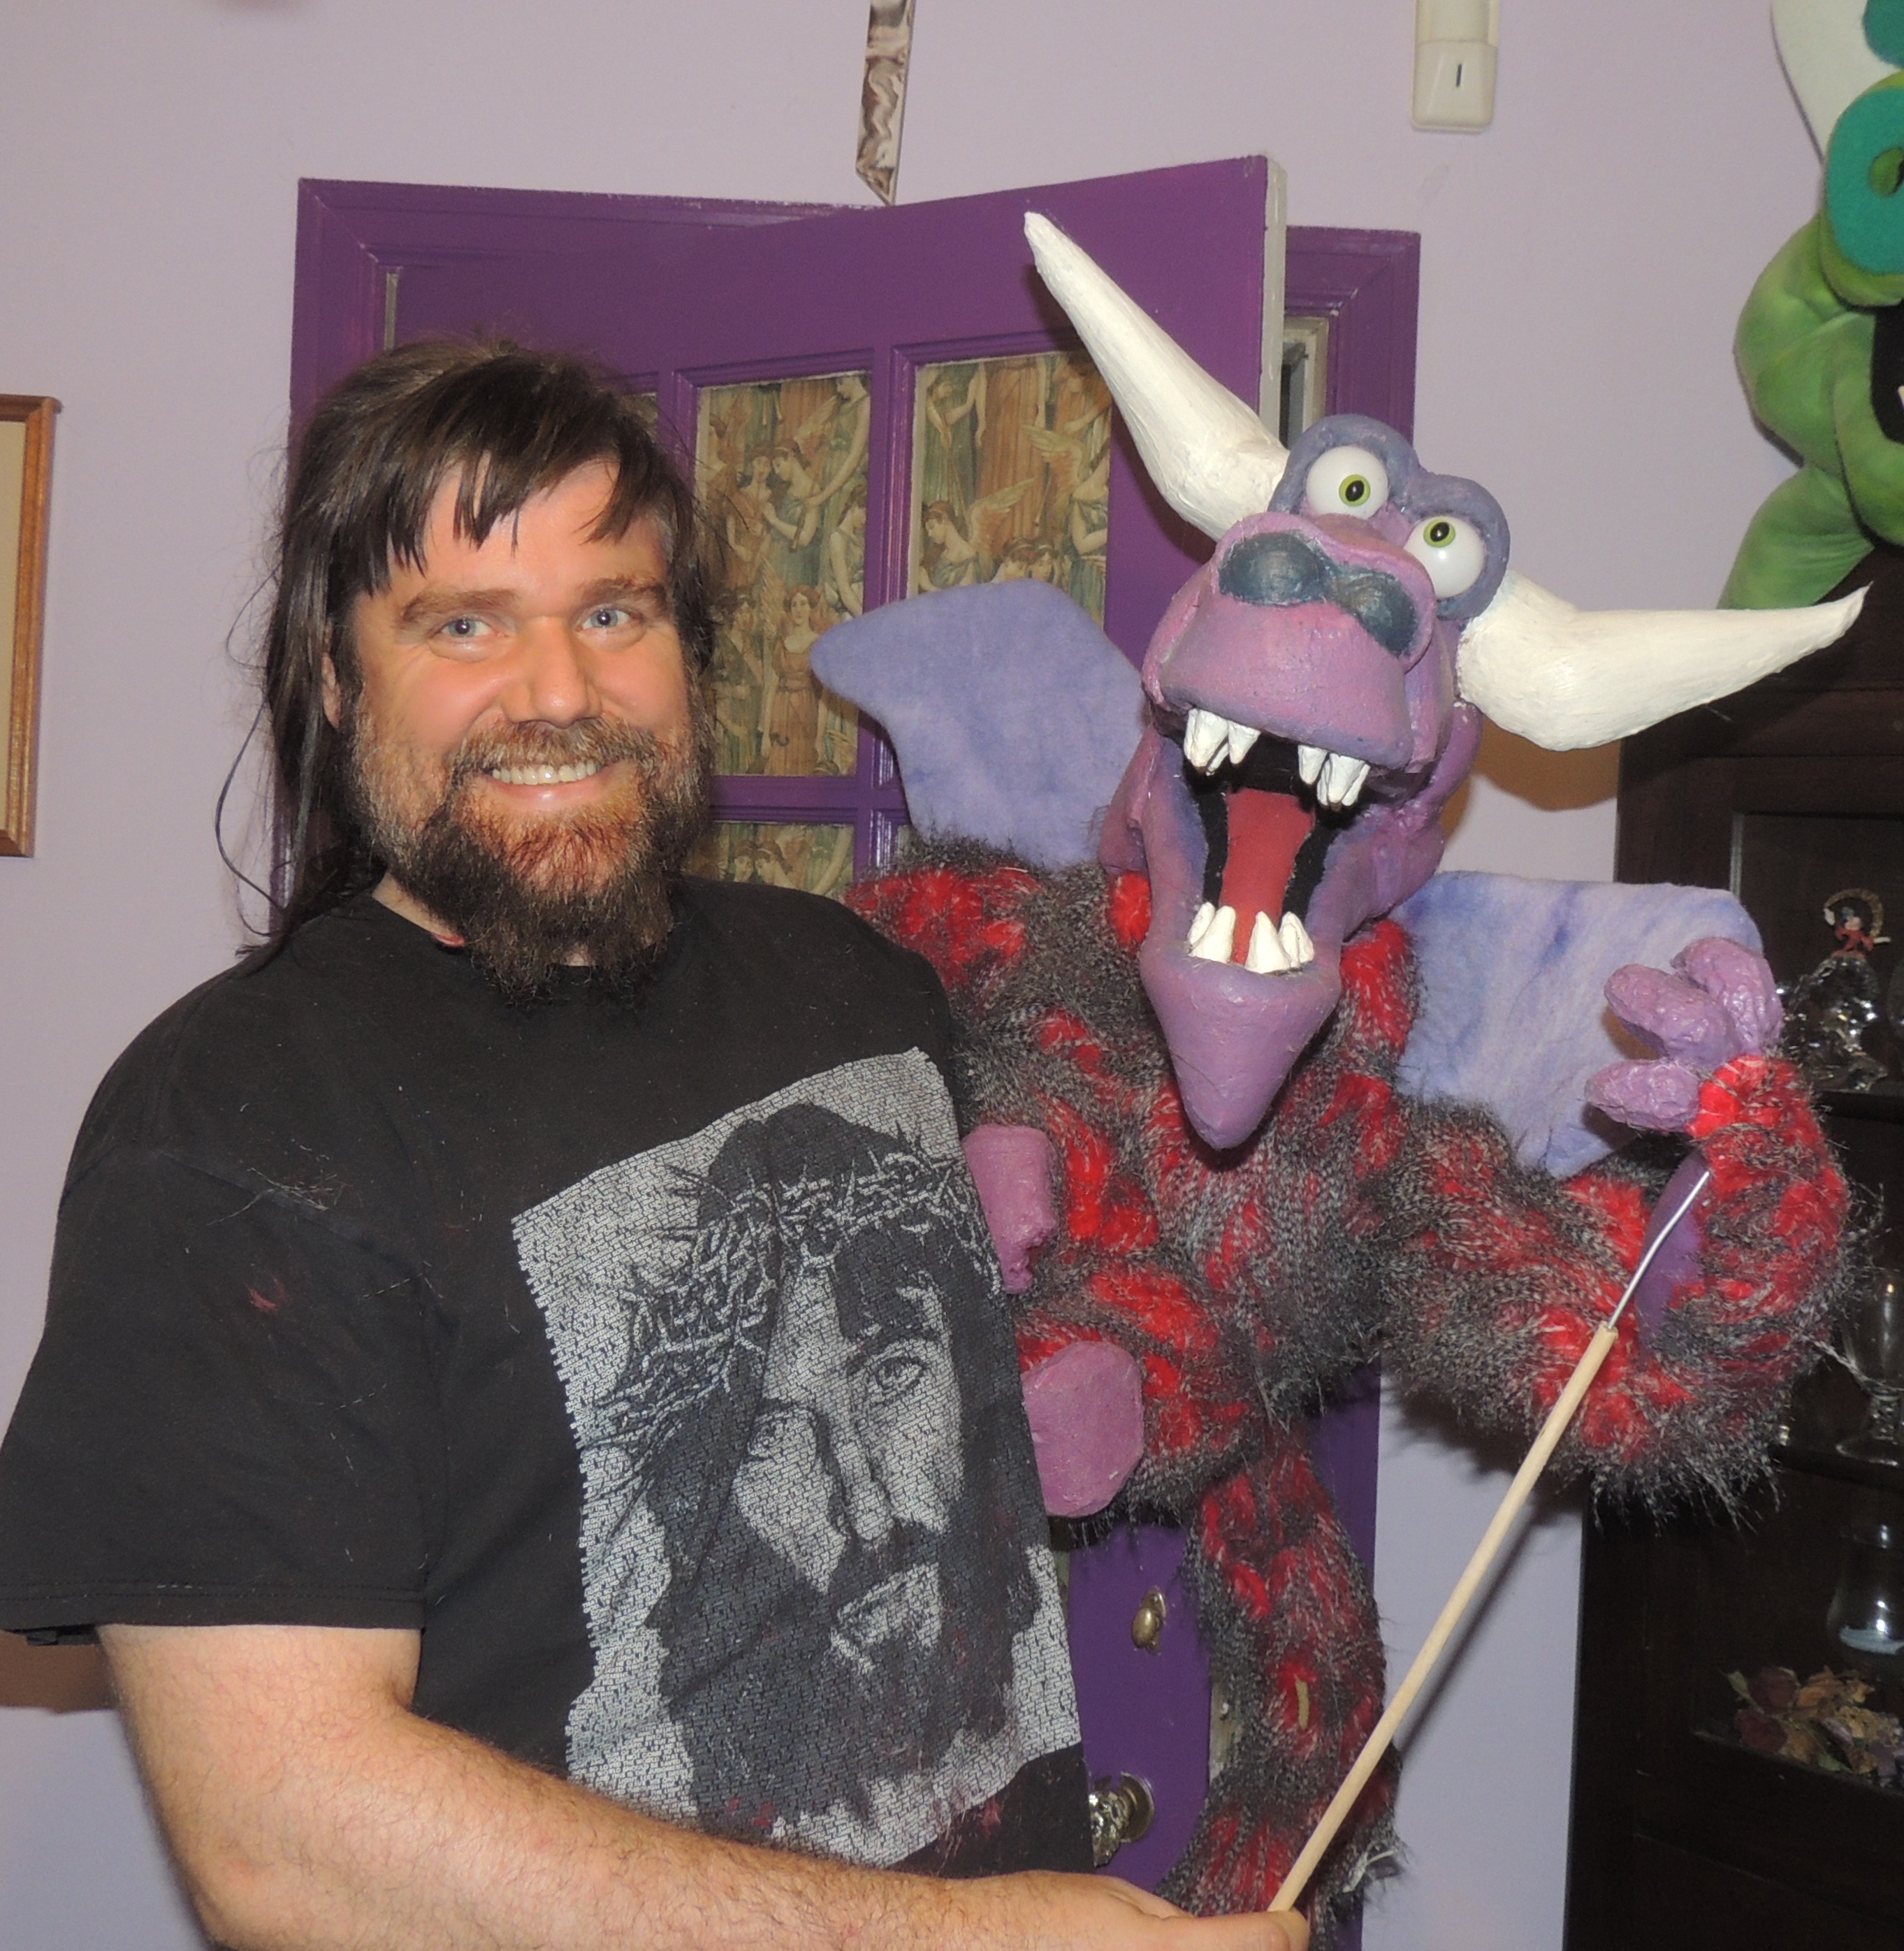
He has the same control options as Norman
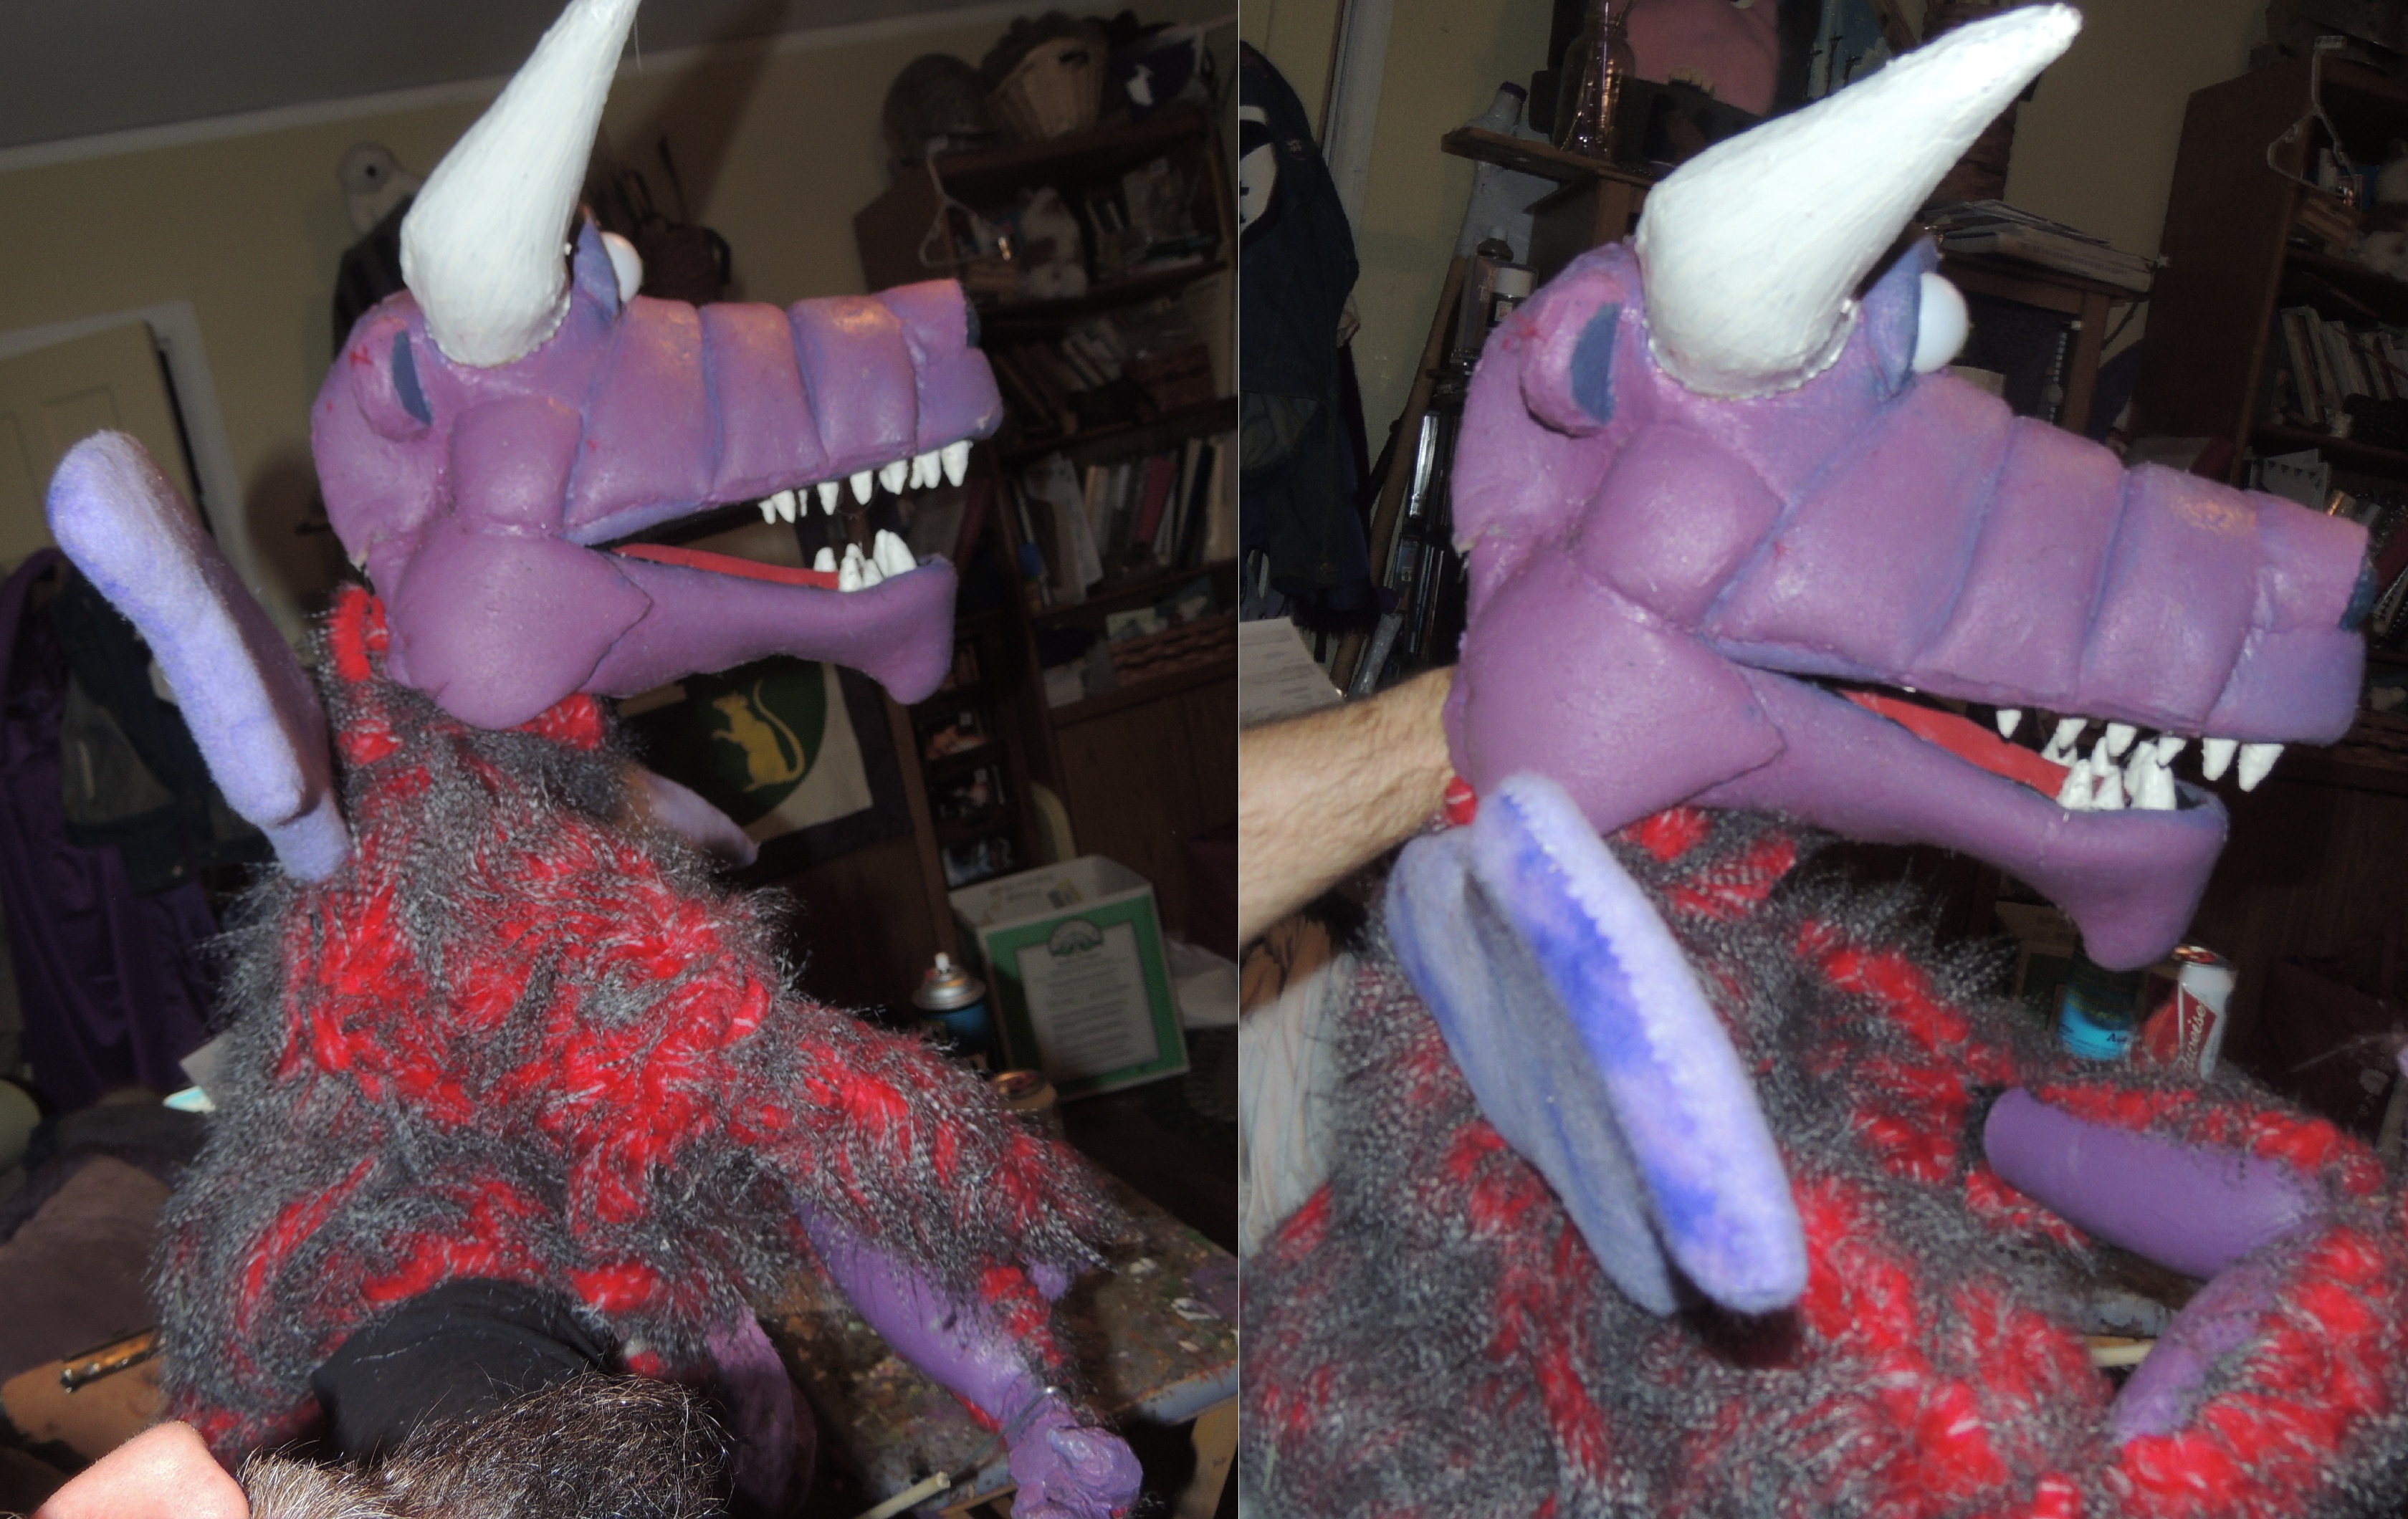
For his neck, I attached an additional piece of fabric around the head's opening. This is not attached to the body so the puppet is 2 pieces. The fabric just drapes over the neck, which is fine since the neck is a fur, not fleece or latex.
Steve did tell me how to make him "breathe smoke", so I will eventually add that trick in. But otherwise, I'm off to plan my next puppet!

I rounded off the bottom of the head and attached it to the neck. MUCH nicer.
For controls, you have the option of up the body, like normal. But I also put a hole in the back of his neck so if he is sitting on my leg like a ventriloquist dummy, he is easy to operate.
Here is the finished dragon I made with the same method:
He has the same control options as Norman

For his neck, I attached an additional piece of fabric around the head's opening. This is not attached to the body so the puppet is 2 pieces. The fabric just drapes over the neck, which is fine since the neck is a fur, not fleece or latex.
Steve did tell me how to make him "breathe smoke", so I will eventually add that trick in. But otherwise, I'm off to plan my next puppet!
Loading
No More Post
Error
- ← Previous
- 1
- 2
- 3 (current)
- 4
- Next →
Loading