Re: Mobile Puppet Transport Posted by Chris Arveson on Jan 12, 2015
An alternative to painting the foam might be to dye it instead. The technique about using spray adhesive as a base is new to me. T wish I had heard it when I was trying to spray some foam. It might not have used so much paint.
Re: Mobile Puppet Transport Posted by TygerMin on Jan 12, 2015
Looks good. How front heavy is it? Just thinking down the line if it might help to counter weight the back to help keep it level. Looks like it is riding pretty level at the moment.
Right now it isn't bad. I have thought about the counter weight, wanted to add a "hump" in the back to break up the boxy look. My biggest fear on that is doorways. The big problem I am finding is with it being attached to the backpack frame. When I lift up my arm to hold the puppet, the whole contraption tends to lean.
Re: Mobile Puppet Transport Posted by TygerMin on Jan 19, 2015
Skinning has been tedious, but now the detail work begins. Working on the head, then will hot glue weld seams. My cutting wasn't perfect on the EVA foam, and I patched a lot of gaps with self adhesive foam sheets. Also used them when I rant out of places to clamp, sort of like tape.
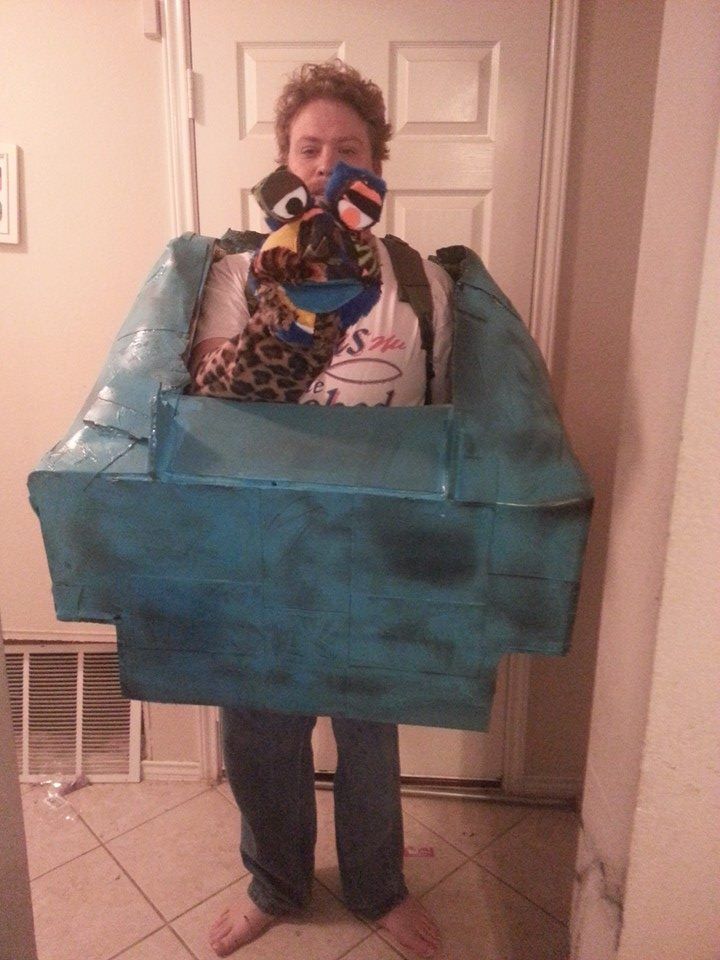

Re: Mobile Puppet Transport Posted by TygerMin on Jan 29, 2015
Have the headpiece finished...
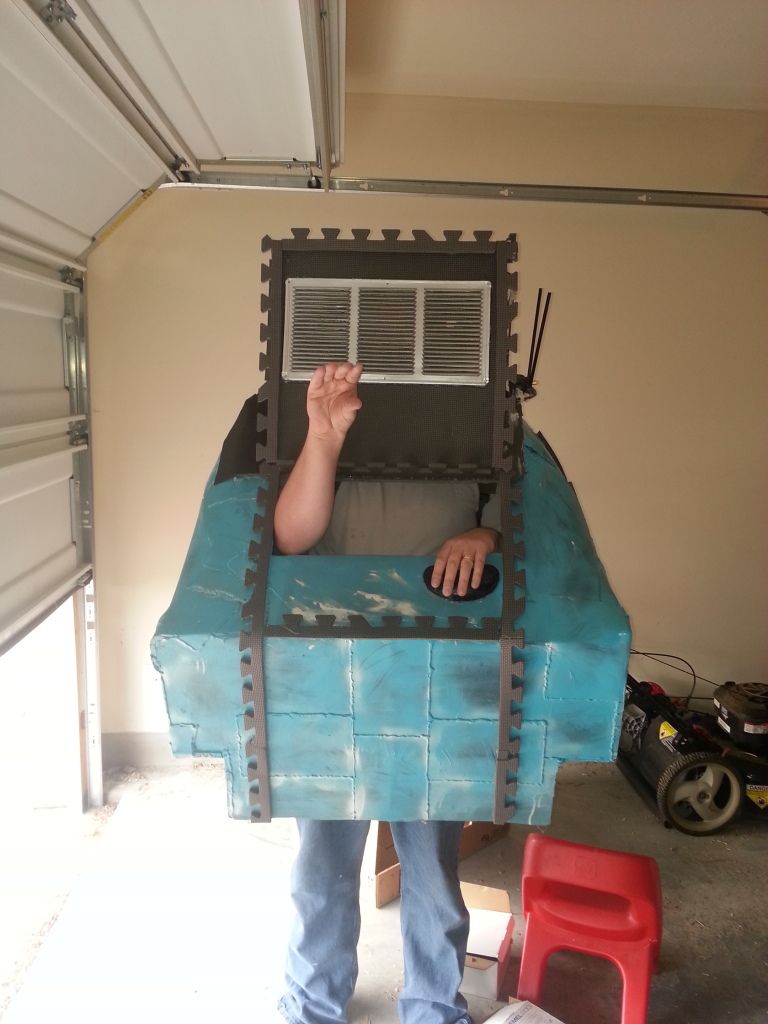
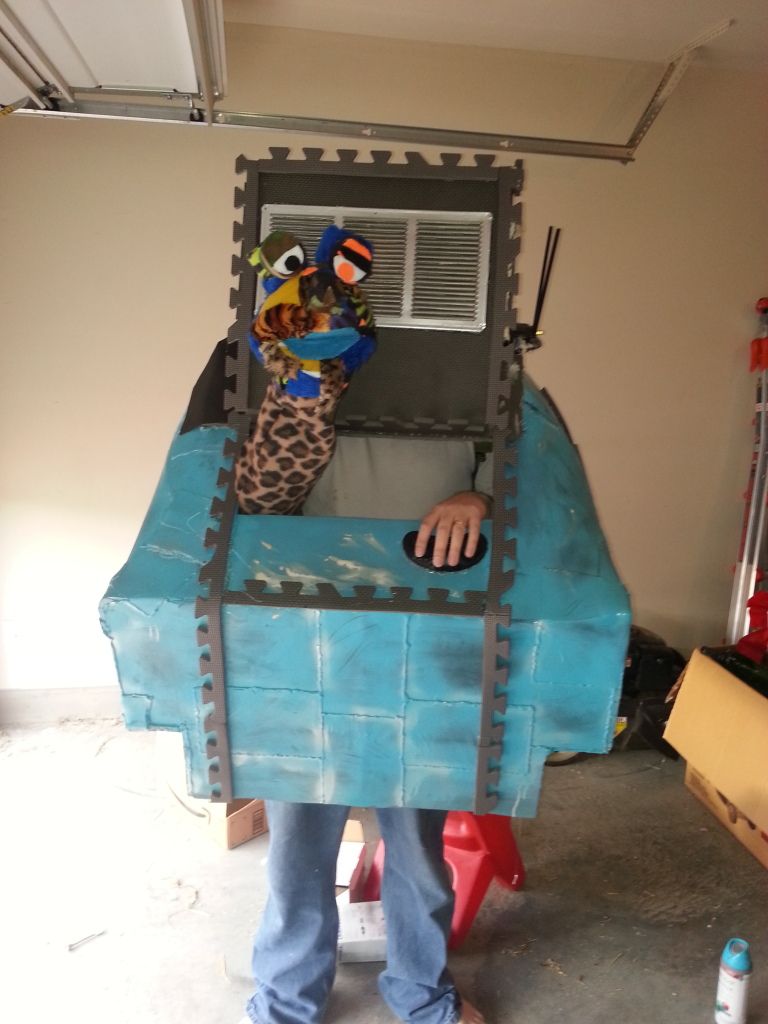
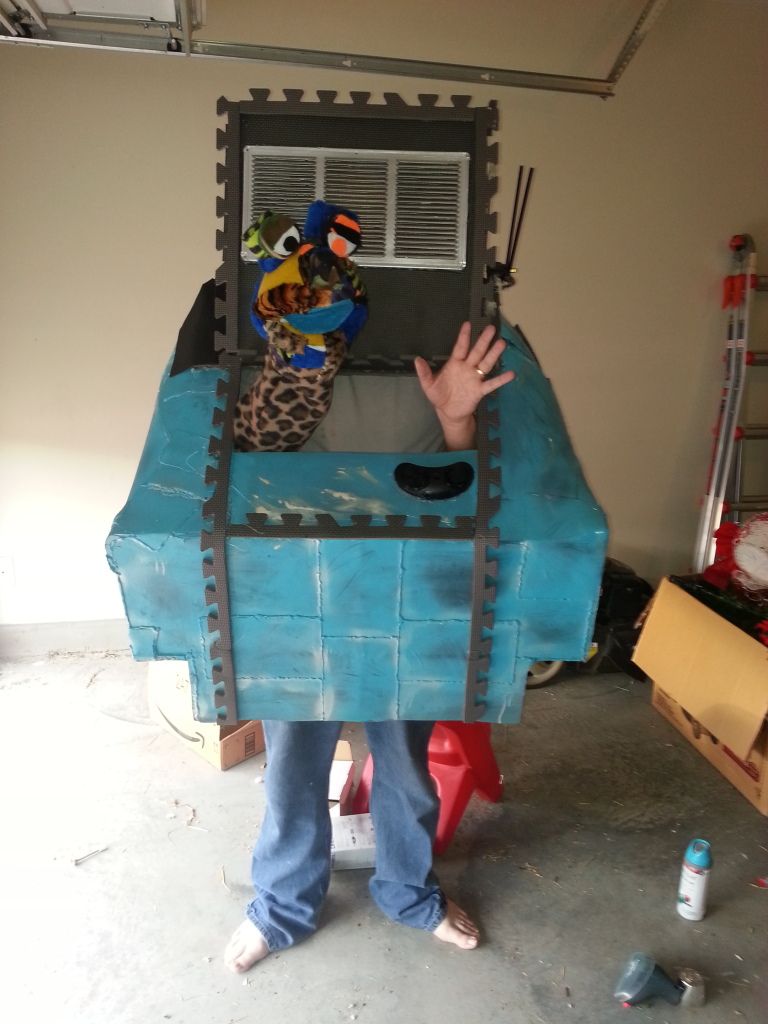
Now just need to paint, finish legs, and sew the Borsa that will be driving it.


Now just need to paint, finish legs, and sew the Borsa that will be driving it.
Re: Mobile Puppet Transport Posted by Gail on Jan 29, 2015
I am wondering if you could use a couple of straight supports from the front top inside corners back to your body with maybe a soft strap across your body to help you hold the front up more. So you are going to see thru the vent, that was smart. I was thinking how the vents and knobs on my car dash kind of looked like a robotic face with eyes and mouth. I love to see inanimate objects take on life like shapes. A few more knobs or vents on the back part might add some more interest.
Re: Mobile Puppet Transport Posted by TygerMin on Jan 30, 2015
Yeah, I was unable to add the back counterweight like I had wanted due to size. I can barely get through my front door as it is :D But...I don't mind it leaning forward a bit as it will give the puppet more visibility for the kids. As for knobs, I have been looking for some cheap ones because I think they would look great on this. I did attach some random pvc pipe creation to the back.
Re: Mobile Puppet Transport Posted by Gail on Jan 31, 2015
Your point about the kids being able to see the puppet is a good point. The wideness of front part will cut off their vision more. I did see your shirt in the back ground, maybe you could add a piece of cloth to hang down in the back to hide you, or maybe an inconspicuous solid black shirt. If the leaning bothers you maybe you could add more of the blue side material in triangular shape to make the bottom side look straight to make it look like the "box" is more of an intended wedge, sort of like a race car look? They will probably not notice anything but the exciting puppet talking to them anyway you do it. Have you got some planned banter lines ready to use? Does he have a background story or name yet? I can't wait to see what you do for your legs, will they appear to be puppet legs or something else?
Re: Mobile Puppet Transport Posted by TygerMin on Jan 31, 2015
I did some test shots with a test Borsa. Few problems. First, I somehow put the thing on wrong as I felt a lot of weight on my left shoulder and it is very tilted in photos. That will be fixed once I figure out what I did. Second, the puppet itself. I have to play around with hand positioning to make it look more...puppet like and not a bag of skin.
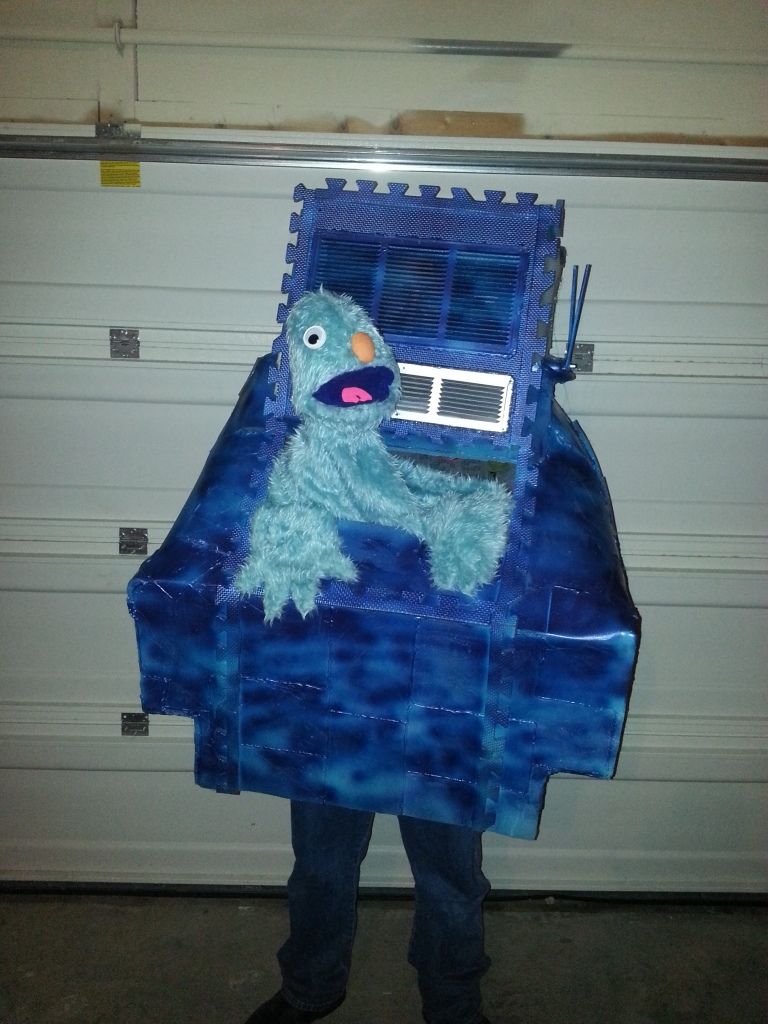
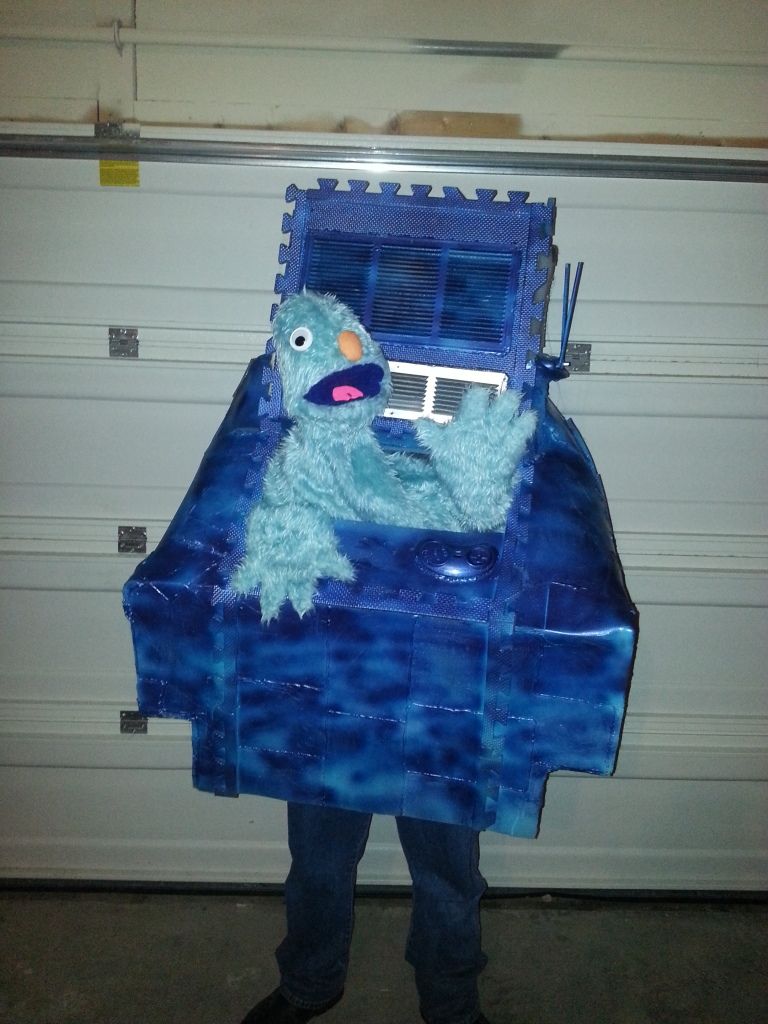
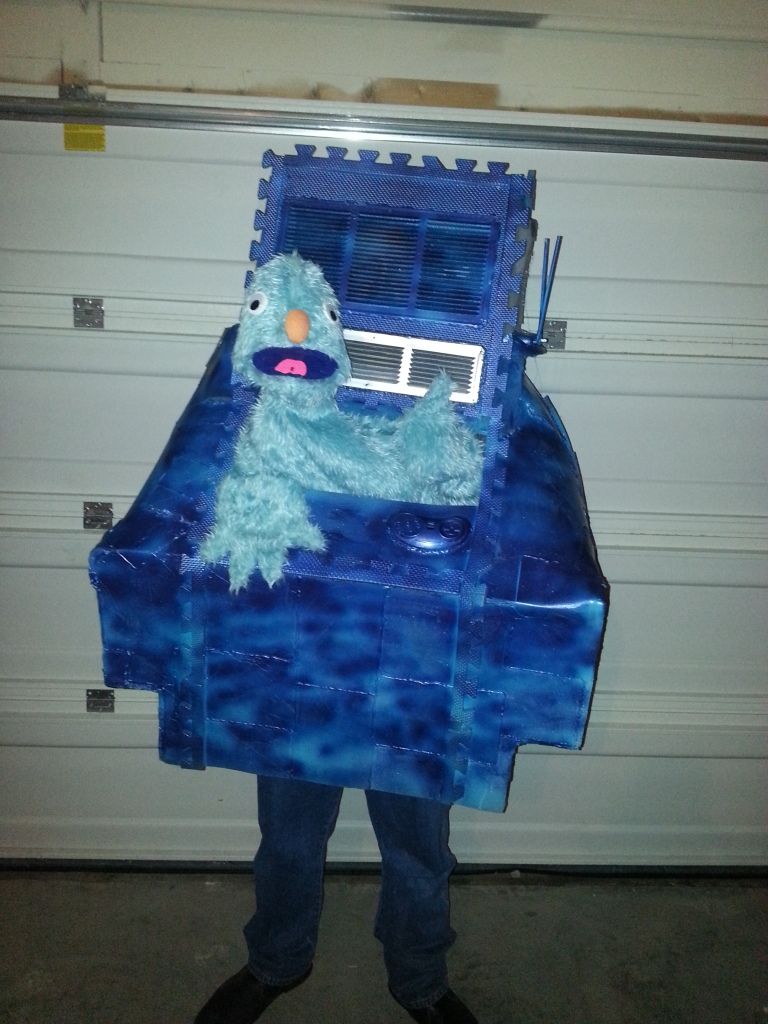
I will be wearing a long sleeve black shirt, thought the puppet itself will do a good job hiding me. Hmm...will have to consider the wedge, that isn't a bad idea! Legs are...well...working on it. They will be foam and boxy to complete the intended look. Though, I have very obviously patched this thing up that I am thinking of "muppetizing" it a bit. Going to do another coat of metallic blue to cover my bad spray paint job. Then going to do some yellow dash lines and numbers on the side, in an attempt to get back to the Mech look. But, thought about painting some of the obvious patches various colors to give it a bit of a disarrayed patched look.
As for the puppet being used, sewing him up tonight. He will be a red and black furry Borsa. I have 1 week to get his story, voice, and attitude together.
Re: Mobile Puppet Transport Posted by TygerMin on Jan 31, 2015
And the multi - color idea is out. That test did not look good.
Re: Mobile Puppet Transport Posted by Shawn on Feb 01, 2015
Looking good. The mottled look of the paint really does not bother me too much. I think even a nice thin over spary of maybe a lighter blue would even things out but still keep some of the variation in color. Something else that can really make a paint job pop is to splatter it. It is used in scenic painting as well as makeup. Just means that when you finish the base layers of color you splatter a darker color (often black) over the top of it in a very fine spray. Can be done with a stiff bush that is very dry and then you rack the bristles to "throw" small spots of color. I've had luck using a spray can to do this but you really have to be very light on the trigger or you get it to splotchy or heavy. Both methods take some practice.
Loading
No More Post
Error
- ← Previous
- 1
- 2 (current)
- 3
- Next →
Loading